![]()
The Fusion LED Flex
Strips and Kuryakyn Lizard Lights have LED lights and since these are plug and
play a lot easier for most
people to install then conventional single LED Light sets that have
to be individually wired.
The
Lizard Lights come with a controller,
eliminating the need for a switch.
The
Fusion LED Lights come with a CPU
and a power switch.
Lizard Lights &
Fusion LED Light Systems:
Positively one
of the
easiest light mod's there are.
All you need to do now is hook up a fused power
source (5 amp or less) to power up your lights.
The
Kuryakyn Lizard
Lights come with a controller and do not require a switch, the
Fusion LED Lights
come with a CPU that is powered through the switch.
Instead of hooking directly to your battery, an
Accessory Fuse Block is very easy to install.
The Fuse Block is the way to go if you are wanting to
install multiple items on your bike (Radio's, GPS, Lighting,
Heated Clothing, etc.) that all require power.
Place the Fusion LED Strips or Lizard Pods anywhere you want using the double
sided adhesive. The
Fusion Light Strips
are flexible.
The
Fusion Flexible LED Light Strips
each have a 40" to 48"' extension lead that is routed back to the desired CPU Output.
The Extension Leads also are covered with a protective black heat shrink, making
them durable and unnoticeable. The Fusion LED POD's are flexible allowing
you to bend and twist them as necessary when mounting.
The CPU is
placed somewhere in the rear (under seat, battery compartment, auxiliary tool
box) or other storage compartments you can find. The extra extension cable
lengths will be neatly coiled together, tie wrapped and stored by the CPU.
Extension cables are also available giving you extra length for routing or to
get to specific locations. You may also install a Y-Splitter at the end of the
extension cable allowing placement of multiple LED strips at a larger distance
from the CPU. You may find this very helpful when installing LED POD's on the front of your bike or even on Trikes. Extension cables are
available in one and two foot lengths. There is also a 3 POD 4 foot
extension available that routes three cables down to one
and back to three.
The
male ends which plug into the CPU is
staggered according to 3 zone lengths.
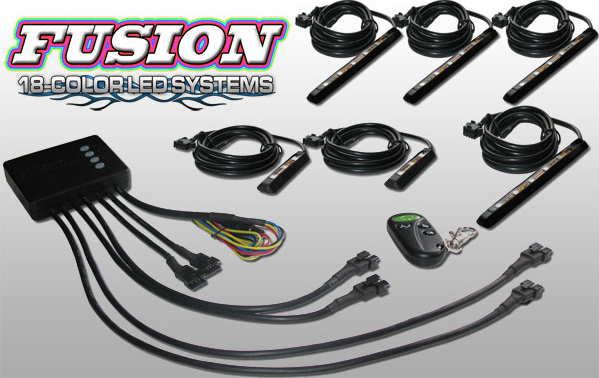
Fusion FOB Program
Instructions: With the CPU turned off, press and hold
the flash pattern button (button A) on the CPU and then press and hold button A
(green button) on the remote until you hear three rapid chirps.
Release both buttons and remote reprogramming is complete.
Kuryakyn Lizard Light Pods are connected together with jumpers which come in different lengths. The Lizard Lights come with Y connectors and a variety of other connectors allowing quite a bit of flexibility. The Lizard Lights connect end to end making it very easy to put LED lighting on Tanks, Panels, Trim Pieces or anything else that you might need to remove sometime.
Electrical:
Fusion 21 Color LED Lighting Kit shown below.
|
Seven Color Super Lizard Lights shown below.
|
|
Picture Below shows Fusion 21 Color LED Lighting installed on our own Suzuki C90 Boulevard. 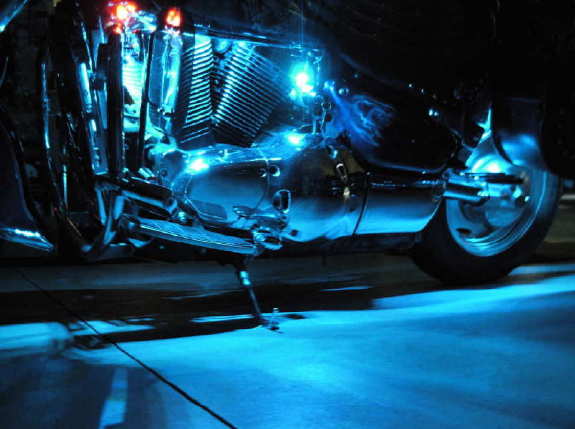
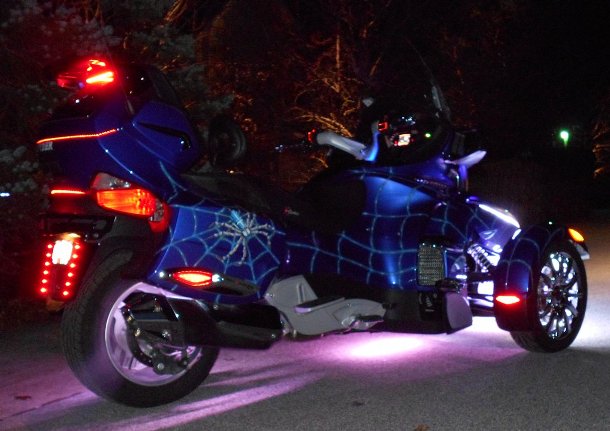
Picture Below shows
Fusion 21 Color LED Lighting
installed on our own Can-Am Spyder. |
|
Mounting LED Step and Courtesy Lights:
LED Mounting Locations:
|
If you are going to installing a set of Fusion Lights on a Spyder RT, contact us. We have a list of locations and instructions to help you. |
Picture below shows
Purple LED's on our own Valkyrie.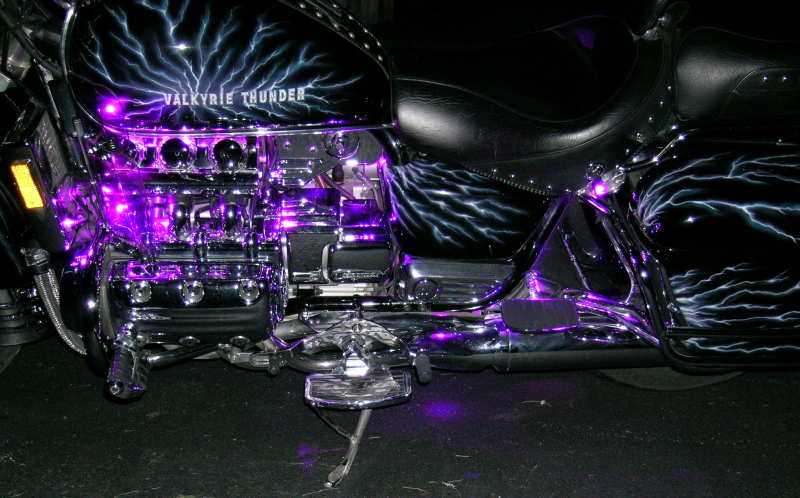
| Motorcycle Accessory Fuse Block Installation | Light Bar Wiring Instructions | ||
|
Give us a Phone Call for
questions or to place a phone order.
440-259-4793
|
|
||
|
|
|||